Preparing the notarization profile
The first step is to get all the Apple developer certificates needed for notarization.
You will require an Apple developer account with a valid Developer ID certiticate.
Generate an app-specific password
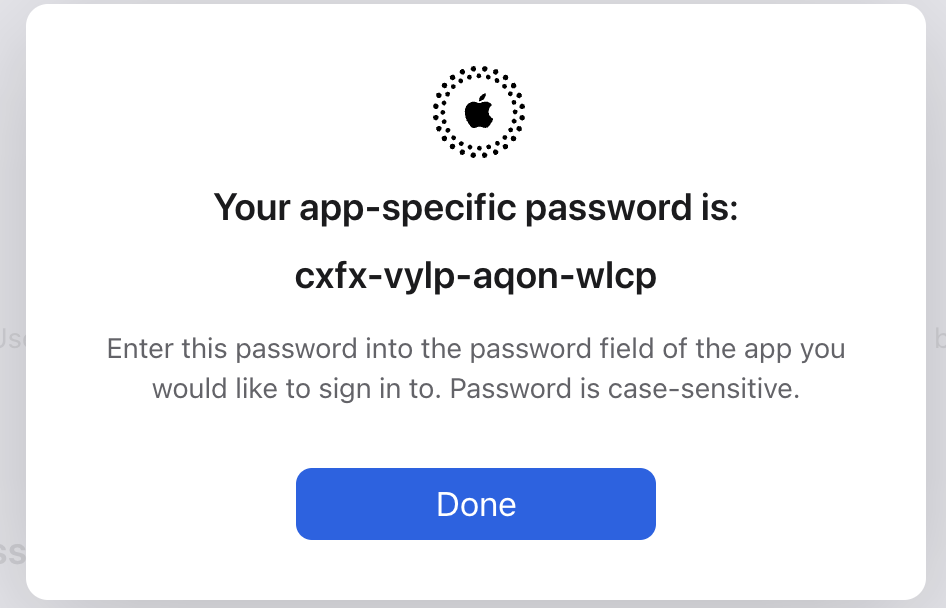
Apple has documented the neccessary steps to generate app-specific passwords here.
You are required to log into your Apple ID account (use your developer account) and use the Sign-In and Security section to generate an App-Specific Password.
Save profile to Keychain
With the app-specific password in our hands, we should save the provider profile to keychain to make notarisaition as simple as possible.
First, we are going to need the team ID of a valid provider.
We can use altool to get a list of providers: the command will prompt us for the app-specific password we generated in the previous step.
xcrun altool --list-providers --username "andrei.augustin@omnis.net"
From the returned list of available providers, make a note of the team ID, which should be in the WWDRTeamID column.
ProviderName       ProviderShortname    PublicID     WWDRTeamID
------------------ ----------------- -------------- ------------
Omnis Software Ltd   [ redacted ]     [ redacted ]   B6959HWR8Y
Second, we use notarytool to store the credentials of our team ID.
xcrun notarytool store-credentials --apple-id "andrei.augustin@omnis.net" --password "ENTER_APP_SPECIFIC_PASSWORD" --team-id "ENTER_YOUR_TEAM_ID"
The notarytool will prompt you for a profile name, this can be anything you like but please bear in mind you will refer to the profile name during the notarisation phase.
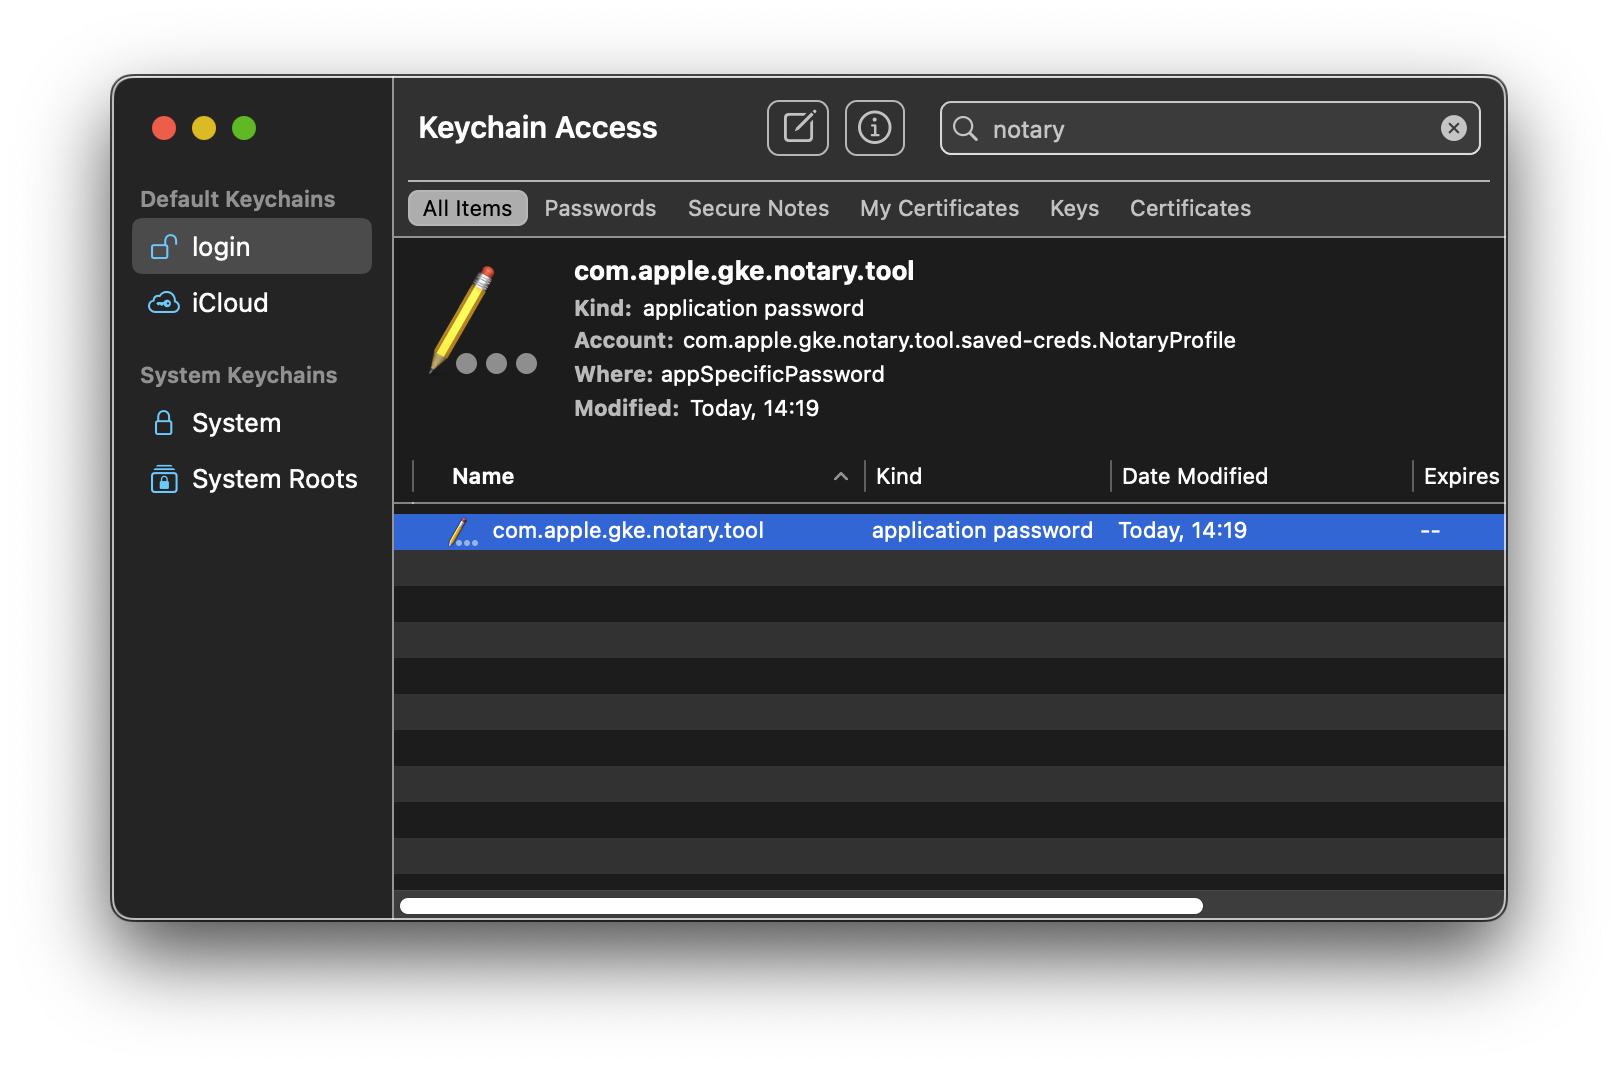
In our case, we named it NotaryProfile.

If you wish to make sure the profile has been saved, launch the Keychain.app and search for the profile name you've given the notarytool store-credentials command: